Thursday, February 26, 2015

Pot Roast... A True Comfort Food

As so many of you are waking up to snow, I'm sure that this recipe will hit the spot for you and your family on this cold and snowy Thursday! 

 Today I'm sharing how to prepare a delicious and tender pot roast...

Here's what you will need for this dish.


You will need...
Onion
Potatoes
Carrots
Salt 
Pepper
and 
last, but not least...

a  boneless beef roast of your choice


Now, I shop for bargains and when buying my roasts whether beef or pork, I only buy them when I can get a good deal! You can always freeze them until you are ready to cook them! 


I also like to choose one with a lot of marbling (The white lines in the meat are fat! That means extra flavor!!)
You don't want too much, but you do want to see it.

Okay, now you are ready to get started!

I normally cook a beef roast in a Crock Pot.  
I will share that method with you real quick...

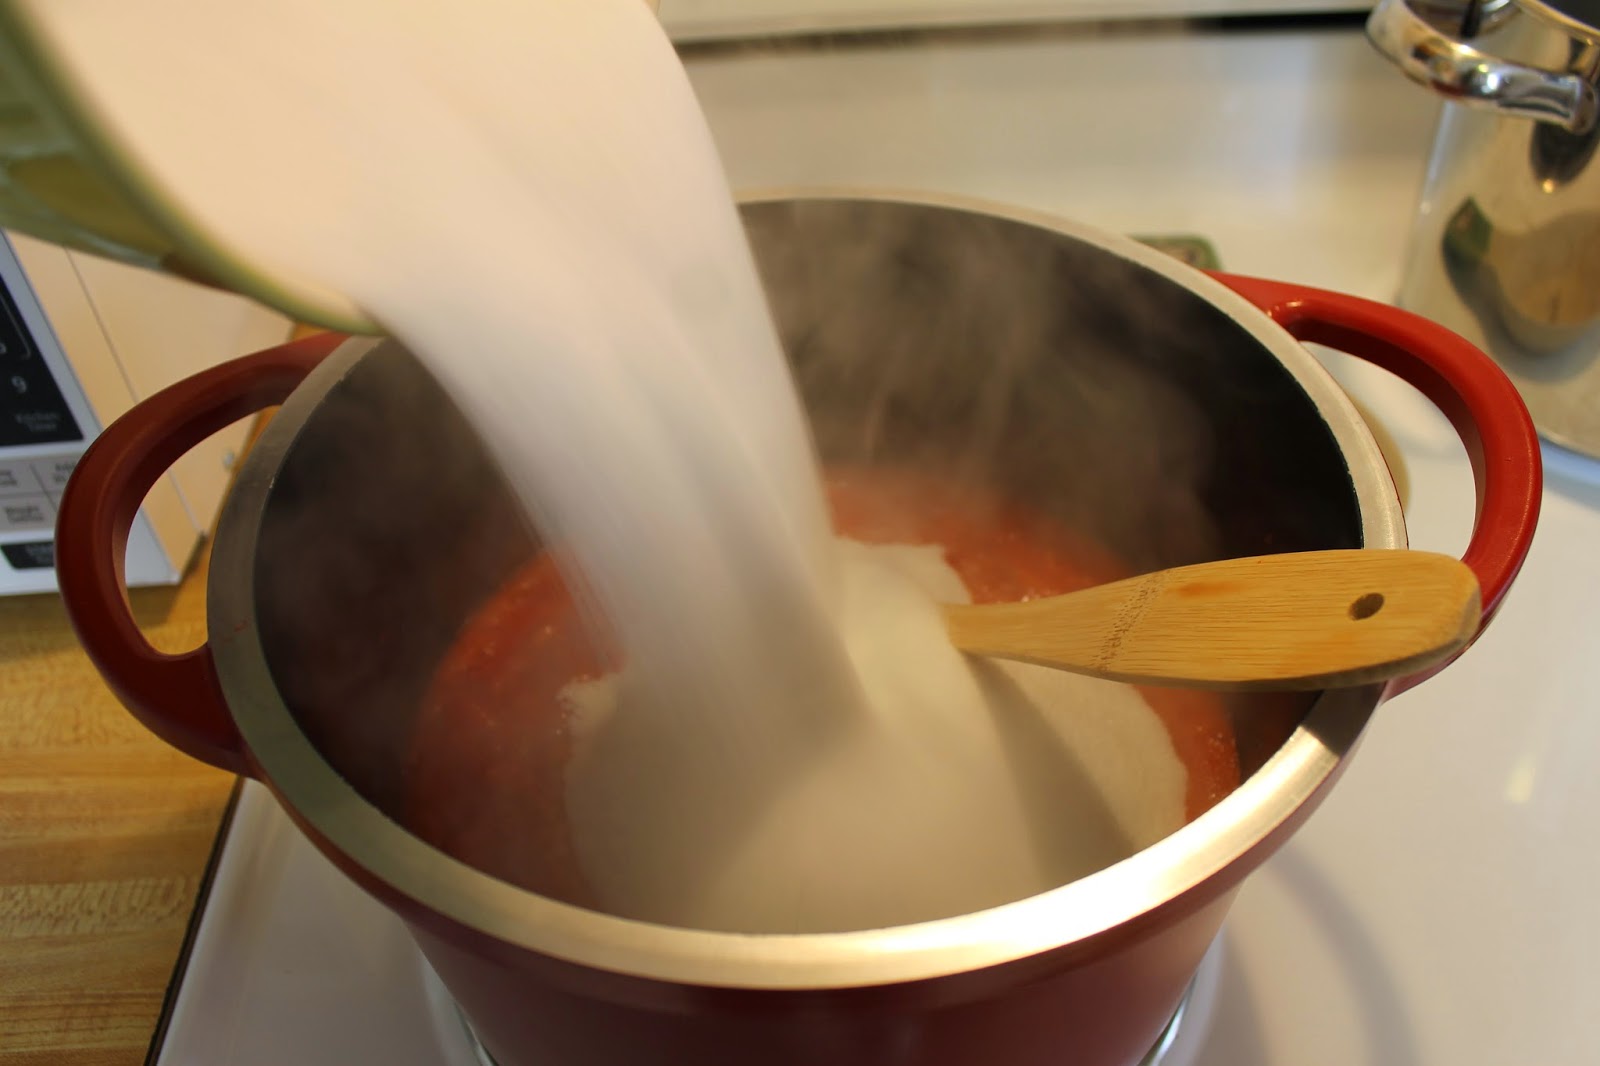
You take your rinsed beef roast and place it in a Crock Pot.  Sprinkle one packet of onion/mushroom dry soup mix (I use Lipton brand) over your roast. Add one can of Cream of Mushroom soup, one small drained can of mushroom pieces and one can of water over your roast and cook on medium heat until done. This will make a yummy roast with a rich gravy, if that's your choice!  

However, today I'm going to share a new way that I chose to prepare my roast and boy oh boy was it good!!

You will need a large cast iron or cast aluminum pot with a lid.


I got this one for Christmas from my hubby!  
I LOVE it!!!

I started by rinsing my meat and dabbing it dry with a paper towel on both sides.

Then, I cut an onion in large pieces and placed it in the bottom of my pot.  They will act as a base for my roast.


Next, I sprinkled my roast with salt and pepper on both sides and placed the roast on top of the onion.


Then, I placed the lid on my pot and cooked it low and slow for several hours.

I started out at 350 degrees for about one hour and then reduced the heat to 275 for hours, until it was getting fork tender, but still had a little cooking to do.  


This is when I added my carrots and potatoes. 
 I just used baby carrots and roughly chopped potatoes with the skins on...


I placed them all around my roast and put the lid back on my pot and returned it to the oven at 300 degrees until the veggies and meat were all fork tender.  
Doesn't this look so yummy?

Trust me... it was! 
It turned out to be so tender and juicy, but without the thick, heaviness of a gravy.

I chose to serve this wonderful main dish with green beans and homemade rolls.

Love on a plate <3

Now that's comfort food if I've ever seen it...

Let me share this easy homemade roll recipe too.

You will need...

1 Cup of Self Rising Flour
 1/2 Cup of Milk
3/4 Teaspoon of Sugar
and 
3 Tablespoons of Mayonnaise

Yep, you read that right... Mayonnaise! 


Blend all of these ingredients together and place into a greased or sprayed muffin pan.


Bake at 425 degrees for only 15 minutes!


These are super easy and are the perfect compliment to the pot roast!

I hope this meal will be just as comforting to your family as it was to mine... 

Stay warm and enjoy!!
 
~ John 14:27  "Peace I leave with you, my peace I give unto you: not as the world giveth, give I unto you. Let not your heart be troubled, neither let it be afraid." (KJV)


Thursday, February 12, 2015

Making A Family Favorite... Strawberry Jam

I can not believe it's already February!! Where in the world does the time go?!?
I hope all of you have gotten off to a good start in 2015 so far!  I apologize for getting behind on my blog posts.  I don't know how it happens, but before I know it, it's another month!! I guess time really does fly when you're having fun!

Speaking of fun... I spent last weekend having fun in my kitchen, making Strawberry Jam! This is a favorite in our house!


Let me share the recipe with you...

Here's what you'll need to get started:

 5 Cups of Crushed Strawberries
7 Cups of Sugar
1 Box of Sure Jell
Sterilized Jars
New Caps and Rings for your jars


When making jam, you always want to sterilize your jars, caps, rings and all your utensils that you will be using while making the jam.  

I like to clean one side of my sink really well and place everything that needs to be sterile in  the sink and cover everything  with boiling water until I'm ready to use it!


While that sits for a little bit, I wash my berries and look over them, making sure there is no mold or rotting whatsoever! 

**Note:  If you use berries that are near ruining or that have mold spores on or in them, your jam will mold inside of your jars!! This would be terrible!! Believe me, I know!! 

True Story...

I once went to a flea market/farmer's market in Tennessee when I was younger and this little farmer man was selling peaches.  I saw a great big box of peaches there beside his table and he asked me if I was making jam.  I said yes, I was making  Peach Butter.  He said, "Well, this is your lucky day, I will give you this whole box of peaches for a discounted price." He convinced me that the fruit was perfect for jam making because it was very ripe.  Well... he was right about needing ripe fruit, but about 1/3 of those peaches were starting to rot. 

I didn't know that mold spores travel from peach to peach just by a moldy peach being near the other  fruit, but that's what happened!  I picked out all the peaches that were moldy or soft and used the rest.  MISTAKE!! I spent my whole Saturday making Peach Butter for us and packed it up for gifts for the preacher and other friends at church! It was very pretty!  I handed it out on Sunday, but soon realized that my Peach Butter was moldy!! Big clumps of mold were in each jar!!  I had to call everyone and warn them not to open the jars!  I was devastated!! I had spent money on peaches, jars and sugar not to mention all that time!  I had to throw out every bit of it!! Heartbreaking story, I know!! :(

So... always be sure you choose good fruit!! 


Now, I remove the caps (the green leaves) from each berry and slice my berries into a large pot.  


Then, I use my potato masher to smash the berries until they are mostly smashed, with some berry pieces in there for a nice "jam texture". 

You will need to have about 5 cups of crushed strawberries in your pot.

Now, stir in one box of Sure-Jell into your fruit.

** I also like to add a half teaspoon of butter into the mix to help prevent foamy jam.  

Bring this mixture to a full rolling boil (a boil that doesn't stop bubbling when it's stirred).


Make sure that you have your sugar already pre-measured and waiting for you to throw in all at once when it's time.  


Okay, once your strawberry/Sure Jell mixture has come to a rolling boil, add your sugar all at once to the boiling mixture.


Stir in the sugar and return the mixture to a full rolling boil.  Boil for exactly 1 minute, stirring constantly.  Be careful this is hot stuff and you can get splattered!

Once your minute is up, remove the mixture from the heat and remove any  foam from the top of the jam with a metal spoon.  


Now, you are ready to put your jam into your jars!! 


Seal your jars with sterilized caps and rings.  I always return my sealed jars back to the boiling water to sit in a "hot water bath" for about 10 minutes after they are sealed to assure they will seal better. 

Place your filled jars on a flat surface that is draft-free and wait to hear a "POP", "POP", "POP"!  Each "POP" you hear, lets you know your jars are properly sealed and ready to give away or be stored at room temperature until you're ready to open them!  


Such a beautiful sight!! <3


I want to share one more recipe with you while we are talking strawberries!

Let's make Strawberry Short Cake... 

Starting with the Pound Cake: 
 
I got this recipe from one of my Southern Living Cookbooks.  I love to make it!  It is very moist, but the outside has a delicious crust!  It's called "Crusty Cream Cheese Pound Cake".

Here's what you will need for the  Cake:

1 Cup of Butter (Softened)
1/2 Cup of Shortening
3 Cups of Sugar
1 (8 ounce) package of Cream Cheese (Softened)
3 Cups of Sifted Cake Flour
6 Eggs
1 Tablespoon Vanilla Extract


Start by creaming together your butter and shortening in your mixer.


I have to share with you one of my favorite kitchen tools.  It's this Pampered Chef measuring cup! It has a dry and a liquid side.  It's perfect for peanut butter and Crisco!  If you don't have one, you should get one!!


P.S. I have a friend who sells Pampered Chef and if you want to order one, let me know and I can give you her contact!

I also learned a new tip to remove Crisco and peanut butter from your measuring cups more easily... rinse your measuring cup first with water and don't dry it out.  When you go to remove your Crisco, it slides right out, cleanly! This works!!

Okay, now gradually add the sugar , beating well at medium speed. Add your cream cheese and beat until light and fluffy.


This is what your batter should look like.

In another bowl, sift your cake flour.  You MUST use cake flour!! It will be a disaster if you don't!  That's another thing that I've found out the hard way!! :)


Alternately, add your cake flour and eggs, beginning and ending with flour.  Lastly, stir in your vanilla.

This is a beautiful batter...


I like to use my Bundt Pan for this recipe...


Be sure to grease and flour your pan and then pour the rich batter inside your pan.


Bake at 325 degrees for 1 hour and 15 minutes or until done.  Cool in the pan for 10 minutes before you remove the cake from the pan.  

Now, on to the strawberries...


I wash, cap and slice strawberries and place them into a bowl and sprinkle with some sugar.


 Allow the sugar to dissolve and make a "syrup" from the juice of the berries and the sugar.  Just allow the berries and sugar to do the work there on your counter while your cake is baking.  


YUM!!!! The strawberries are ready!! 


When your cake is cooled, assemble your dessert and enjoy!!!


~<3~  I John 3:11  "For this is the message that ye heard from the beginning, that we should love one another." (KJV)


Tuesday, December 30, 2014

It's Been A Good Year

I can hardly believe the end of 2014 is already here! Wow... it has flown by to me, but when I actually start thinking about everything that has happened this year, I am  shocked at how much we crammed into one year! 

It's been a happy year!

Just think... 

On January 6, 2015, I will celebrate 1 year of blogging with you all! I am so thankful for blogging this year!  It's helped me to cope with the many changes going on in my life and it's given me something to work on that I've really enjoyed!

This year, we've added two family members to our Hackney family of 5.  We are now a happy family of 7! <3

We celebrated the marriages of two of our children this year!

We had our second homeschooling student to graduate successfully! 

This year I started my 19th year of homeschooling!
 
We watched as Austin (aka The Baby), got his first job and started driving on his own!

Anthony and I visited Canada for the second time in our marriage!

We celebrated 25 years of marriage on June 24 of this year!

We've had many good times of fellowship with our friends and family in 2014!

 We are so thankful for all of you that helped make it a happy year for us!! 


It's been a  sad year...

I won't lie and say that it's all been happy.  This year, we've had sad times too.  It's NEVER easy to let go of those we love and this year, we had to do that!  We are so thankful that God has promised a better life in Heaven with Him one day to those who are His children!
I am so thankful for all of the prayers that have been said on behalf of our family this year!

We also hurt for others who have lost loved ones this year too! <3


It's been a busy year...

With our work travels, school, graduation, wedding showers, 2 weddings, vacations, holidays, family, friends and just plain old LIFE... our year has been busy!!


It's been a blessed year... 

Our family has been blessed with health, love, safety, shelter, work with less travel when we needed it the most, food, family and friends! The list goes on and on...

I can't even begin to count all of the blessings that have been afforded to our family in 2014! 

Like I said, 2014 has had happy times, sad times and busy times.  But most of all, it's been full of blessed times! We've been blessed beyond what we deserve! 

As I say goodbye to this year and welcome in the new year, I always like to make a list of resolutions and plans.  Each year my list has pretty much the same things written on it, because although I do try, I never can accomplish it 100 % !  

I hope to read my Bible all the way through again...


I hope to pray more and study more.


I hope to eat better and exercise more often...


I hope to be more hospitable and look for more opportunities to help others...


 I've made my list.  I hope to be a better me in 2015!  <3  

If you don't usually make one, try it.  You may be surprised at how it will help you to work on your goals for 2015.  

Before I go, I want to share an idea that I found on Pinterest!  


It's a Blessing Jar and I made ours today! All throughout 2015, starting on January 1, each time a blessing happens in your life, write it down on a slip of paper and drop it into the jar.  It can be a good report from a doctor, a bill paid off, an accomplishment of your children, a sweet gesture of kindness shown to you from someone... anything! On December 31, 2015, open your jar and read your blessings to remind you of what God has done in your life during the year!  May we all forever be aware of the blessings God gives us each and every day!

Happy New Year To You and Yours!!


~ <3 ~ "And be not conformed to this world: but be ye transformed by the renewing of your mind, that ye may prove what is that good and acceptable, and perfect, will of God."
 Romans 12: 2 KJV

Hope to see you next year!!

~ <3 ~ <3 ~ <3 ~

A Couple More Recipes For Easy Homemade Treats

Well, I didn't quite make it back on here to give you the other recipes I wanted to share with you for some last minute homemade Christmas gifts! I got back to it a few days too late! Sorry about that!! Maybe you can still use these recipes for some sort of holiday get together, like tomorrow night... New Years Eve!

I am actually working on a New Year's Resolutions post today too, so today will be a "two for one" blog visit! :) 

First, let me go ahead and give you two more recipes for homemade candy.  

Here's an oldie but goodie...


Peanut Butter Balls 
aka
"Buckeyes"


Ingredients:  1 and 1/2 cups of peanut butter
 1/2 cup of butter (softened)
1 pound of powdered sugar
1 teaspoon of vanilla
1 and 1/2 cups of chocolate chips
1 small amount of crisco added to the chocolate chips ( about 1/3 teaspoon)


(By the way, shout out to Aldi once again, I got all of these ingredients for a fraction of the cost of name brand products and they taste the same, even the peanut butter!)

Ok, back to it...  Mix your peanut butter, softened butter, powdered sugar and vanilla in a bowl.


It's not very pretty, but it's oh so good!! 

Now, shape the dough into balls and place on parchment paper lined cookie sheets.


Refrigerate the balls.  

In the meantime, melt your chocolate and the crisco (so the chocolate will form a hard shell) in a double boiler.  

 
 I make my own double boiler using a glass bowl resting over a pot of boiling water.  This works great and your chocolate will melt, but not burn. 


Now, remove your cookie sheet from the fridge and using a fork or a toothpick, dip each ball into the chocolate until coated.  If you're going for the old fashioned "buckeye" look, leave a small area of peanut butter showing to resemble a buckeye.  


Cool your candy in the fridge until set and your ready to package these as a gift!! 


These are so good, but a warning goes with them... they are RICH!! You might need a glass of milk or water with you while you enjoy these yummy treats!! 


I have one more candy recipe to share and they might actually be my favorite this year!!  They are just the right amount of sweet and salty!


White Chocolate Covered Pretzels

These are so easy to make and take very little time to do! Here's what you will need...

Ingredients:  

Square Pretzels
Hershey's Hugs Candy
Red and Green M & M's 


Just preheat your oven to 200 degrees.  Then, line a cookie sheet with parchment paper and place your pretzels in rows over the parchment.  

Then, place one Hug candy on top of each pretzel.


Place into the preheated oven just for a couple of minutes until the chocolate is shiny and starting to soften.


Now, carefully place an M & M in the center of each pretzel!  


That's it!! Place in the fridge to harden, then take out and try to package these without eating them up!! I can hardly resist the "sweet & salty" combo!  


I hope all of you had a wonderfully Merry Christmas with your families and friends!! 

Like I said earlier, I'm working on my last post of the year today too, so if your visiting my blog , stay tuned, there is more to come! 


~ <3 ~ 

"And as ye would that men should do to you, do ye also to them likewise." Luke 6: 31 KJV